
|
Regular chimney cleaning is an important step in regular chimney maintenance and in the prevention of chimney fires. Without proper cleaning, creosote, a black flammable substance, can build up inside your chimney and cause deterioration or even catch fire. Many people hire a chimney sweep to clean their chimney. It is a job that needs to be done right. However, if you’d like to clean your own chimney, here’s how to do it.
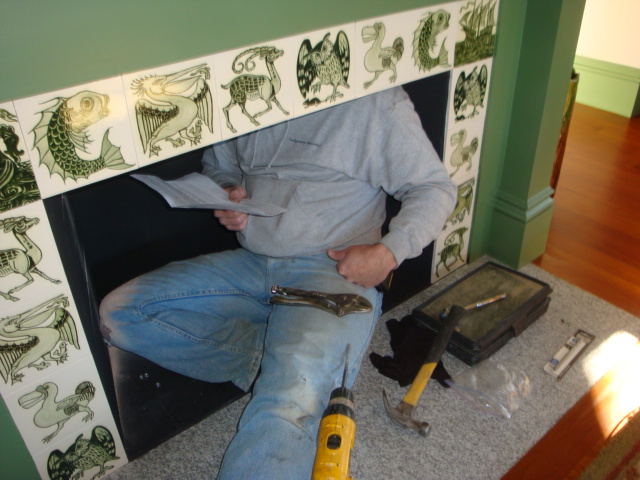
First, you’ll need the right tools. Measure your chimney flue, and purchase a brush that most closely matches its size and shape. You can find brushes at Lowes, Amazon.com, and specialized online chimney stores. They are usually between $20-50, depending on brand and size. You’ll also need chimney brush rods, enough lengths to reach the bottom of your chimney from the top. They are usually about 3 to 4 feet long and about $8 each. You’ll also need something to cover your fireplace opening to trap debris. If you have glass doors, close them. A garbage sack or sheet of plastic and some tape can help seal out debris as well if needed. You’ll probably want something to cover furniture and carpet near the fireplace just in case. An old sheet or tarp will take care of any unwanted mess. Now that you have everything prepped, it’s time to get started. Remove your chimney cap if necessary, or any damper that blocks access to the chimney flue. Push the brush down through the chimney, scrubbing vigorously in small sections as you move down through the chimney. As you get to the end of your first rod, attach another rod and keep moving down through the chimney. Repeat this process until you get to the bottom. When the brush has reached the bottom of the chimney, begin working your way back up, pushing and pulling the brush, scrubbing vigorously to clean the inside of the chimney liner. Once you reach the top, begin going back down through the entire chimney again, until it is well scrubbed. It may take several passes. Be sure to wear safety glasses to avoid getting debris in your eyes as the brush comes out the top of the chimney. Once you feel the chimney has been well scrubbed, take a flashlight and inspect it. Look down the chimney carefully to make sure there are no more deposits of creosote. If there are any deposits left, use the brush again to remove them. After the chimney has been thoroughly cleaned, go inside to the fireplace and with a shop vacuum, carefully vacuum up the debris. Be sure furniture and carpets are covered to prevent soiling. Vacuum or sweep the fireplace box until it is nice and clean. If you discover you have extensive creosote deposits that are not easily removed with a brush, you may need to hire a chimney sweep to remove them. Black, shiny creosote deposits called glaze creosote may need to be removed using specialized chemicals. Call your local chimney sweep for removal of stubborn glaze creosote buildup. Thanks to Corey Binford for his step by step video on Chimney Cleaning 101. You can watch this video on YouTube.
6 Comments
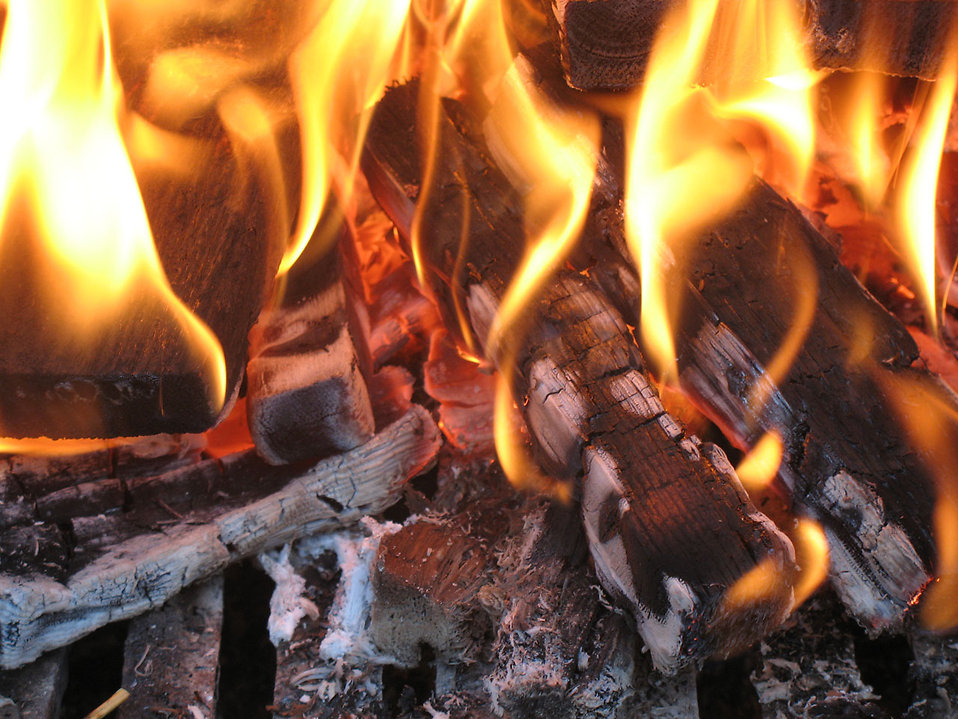 Getting a fire started is not always as easy as it sounds. Many people use different tricks or tips to light a nice roaring fire. It is important to get a nice hot fire going in your fireplace to increase efficiency and decrease smoking.
It may not be the season to start a fire in your fireplace quite yet, but these methods may also help you when starting that campfire this Labor Day weekend. Method 1 - Quick & Easy Fire Starter Step 1 - Gather dry kindling. Use small pieces of split wood that will burn easily. Place it in the center of your fireplace on the grate or in the bottom of your fire pit. Be sure to stack it loosely to promote air flow. Step 2 - Stack split logs around the kindling. You've probably seen a tepee or log cabin style of fire. We often use a combination of these two types of fire building. If you're lighting the fire in your fireplace, be sure to stack your logs so they won't be able to roll into the room. Again be sure to stack loosely to promote air flow. Step 3 - Make your newspaper fire starter. If you've ever started a fire, you know you need small pieces of wood for kindling and larger pieces of wood for keeping your fire fueled. Getting that kindling to burn isn't always easy. Fire starters are often used to get the fire burning quickly and easily. You can purchase commercial fire starters, use tinder like small dry twigs or grasses, or use paper. Newspaper makes a great fire starter because it is readily available (even if you only get a small paper in your junk mail), and the paper is uncoated, unlike magazines. We're going to use newspaper to make a quick fire-starter. I know, you've probably used crumpled paper before. I know I have, usually with less than successful results. Instead of crumpling the paper, we're going to shred it. Beginning at the fold, tear the paper into 1 inch wide strips. Gather the strips into a pile. Fluff the pile with your hands to create a nice fluffy nest of paper. Now place your fire starter loosely at the bottom of your fire. If using a grate in your fireplace, place it under the grate. Step 4 - Light your fire. Using a match or lighter, light the shredded paper. The fluffy bunch of strips will quickly light and soon catch your kindling on fire, and in turn light your logs. You should have a nice warm fire in no time! Method 2 - The Upside-Down Fire Instead of placing the fire starter and kindling on the bottom, we'll place it on top. Step 1 - Place your logs. Use split wood for easier burning. Stack 3 to 4 pieces in one direction, and then stack 3-4 more on top in the other direction, making sure there's room for air to circulate. In your fireplace, you'll stack these on your grate. If you're using a fire pit at a campground, you might use a few rocks to get your logs up off the ground. Step 2 - Add dry kindling. Use smaller branches or split wood pieces that will burn more quickly. Make a nice pile on top of your logs. Step 3 - Add your tinder and fire starter. Use strips of paper as before, or lay wider strips of paper across the top. Commercial fire starters work well with this fire too. Pile some very small tinder on top. Step 4 - Light your fire. Now light the paper and/or fire starter, and in a few minutes you'll be enjoying your fire. Don't forget the marshmallows, chocolate and graham crackers for S'mores. Sliced strawberries are great on S'mores too, try it if you haven't. Have a great weekend! Do you have any tricks that you use to get your fire started? Leave us a comment! 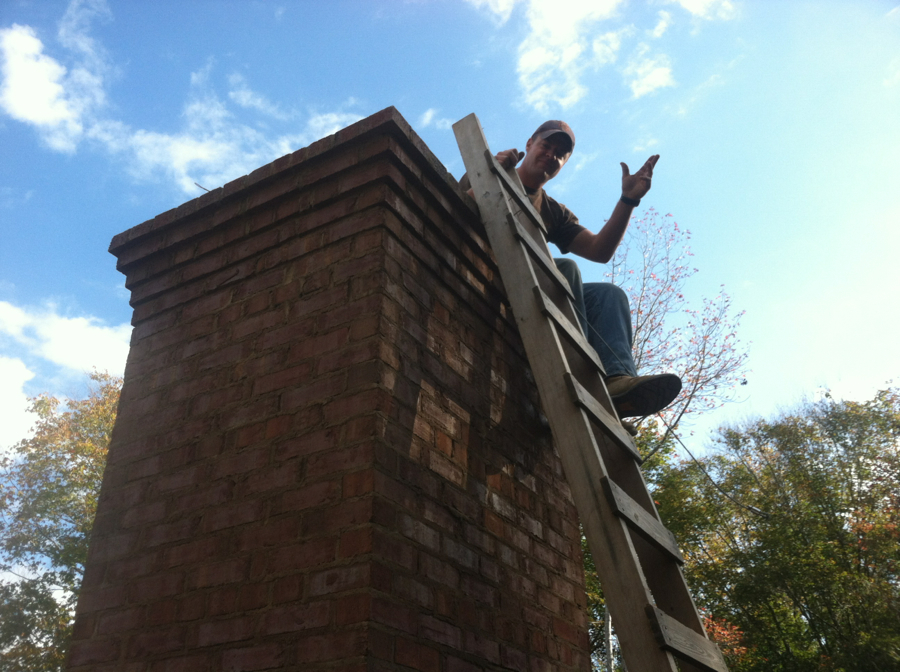 Clay Chapman describes his installation of the All Season Control Cover on one of his projects featured on his website, "Hope for Architecture". He says, "The minimal design of the Control Cover damper is favored for many historical restorations because the simplicity of the mechanism is quite inconspicuous while still providing a product that performs the required service effectively." 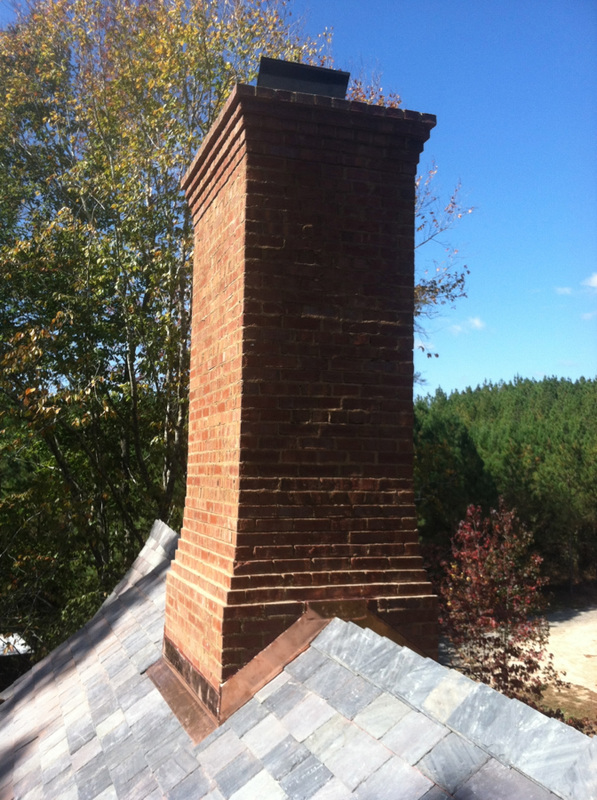 The elegant and simple design of the All Season Control Cover makes installation easy. The cover when closed is almost invisible from street level, so it doesn't detract from the aesthetics of the chimney. It's careful engineering makes it functional and efficient, providing energy savings and improving chimney performance. 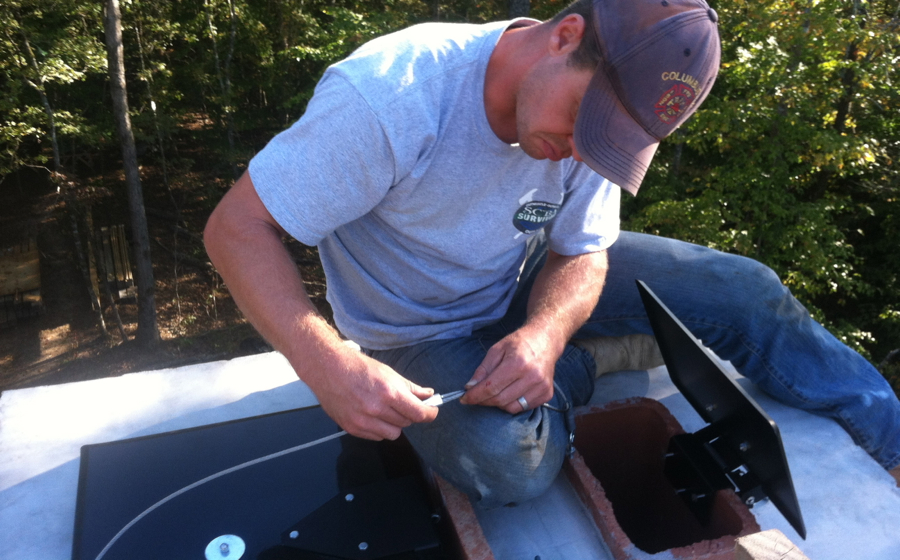  Okay, maybe it's a cheesy title, but we recently came across a story where a duck came crashing right down someone's chimney and into their living room. In a home in England back in 2012, the uncovered chimney had become home to the duck, and one chilly evening when the family started a fire in the fireplace, the duck lost it's balance and came tumbling right into the open flame and then into the room. The singed duck then panicked, sending soot all over the furniture and floor. The duck was okay, but the soot and mess ended up causing several hundred pounds of damage. To read the full story, click here. Of course, if you want to avoid having ducks roost in your chimney, the All Season Control Cover can take care of that. In fact, we guarantee duck proof chimneys with the installation of any of our chimney covers, so you'll never have to worry about duck dodging in your home. Well, at least not ones falling down the chimney. 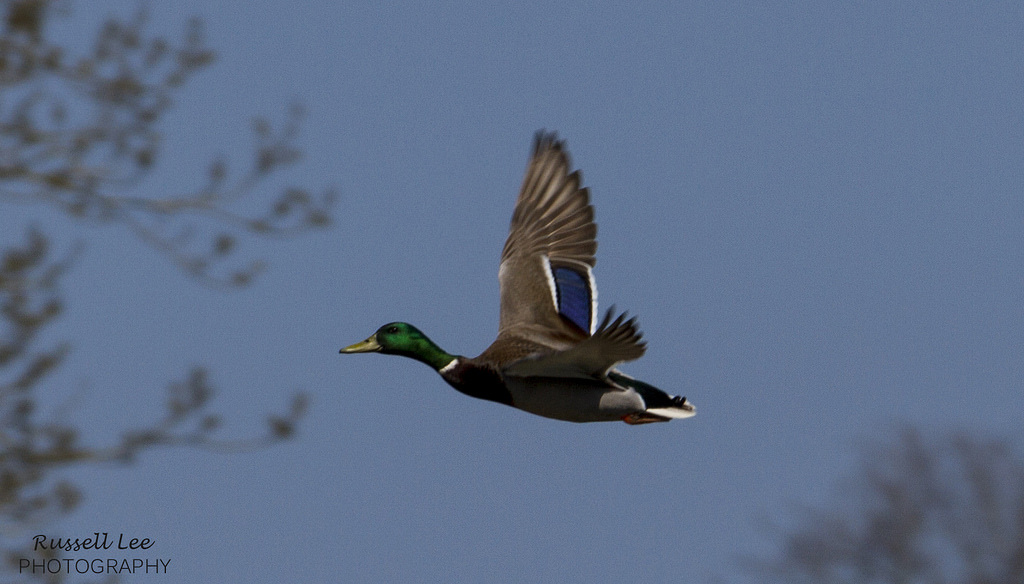 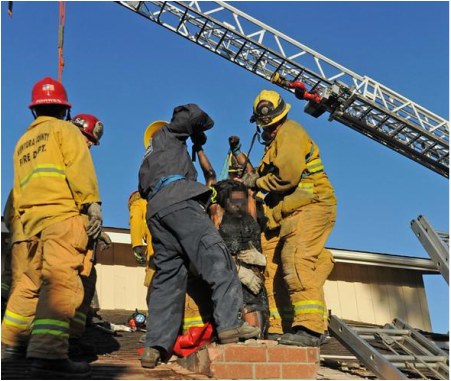
If you need one more reason to cover your chimney, read about this woman who was stalking a man she met online. She tried to use the chimney to invade his home. Read the full article here.
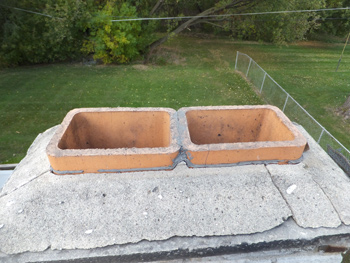
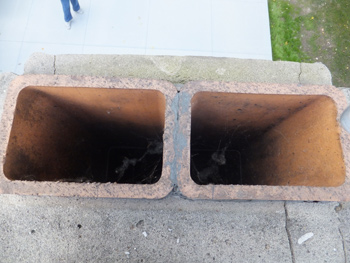
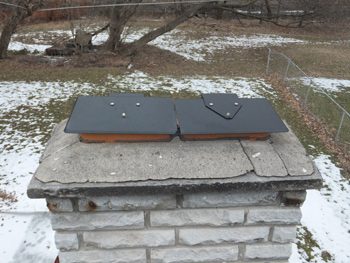
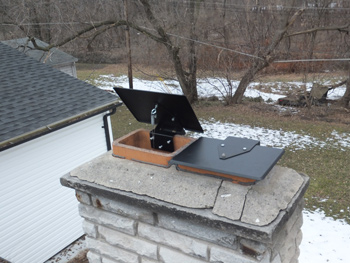
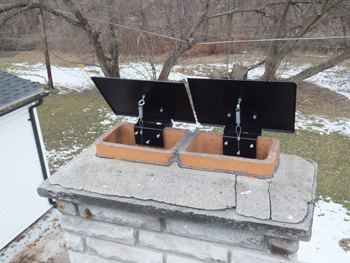
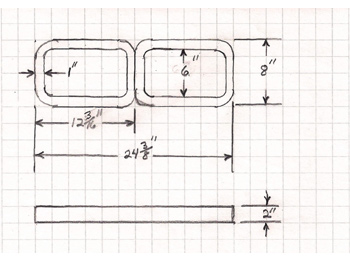
Amazingly, this isn't an isolated incident. We've found other instances of stalkers and burglars trying to enter homes through open chimneys. If you've been a victim of chimney home invasion, we'll give you a FREE All Season Control Cover. See our web page for details. 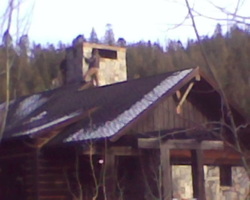 The Moshier family had several problems for us to solve; up and down fireplaces, smoke in the make-up air and limited clearance for a new chimney cap. We constructed a custom split lid All Season Control Cover with a custom base to solve all these problems. Constructing an All Season Control Cover takes several skilled craftsman. Each custom cover is individually designed and crafted for a perfect fit. Constructing a custom All Season Control Cover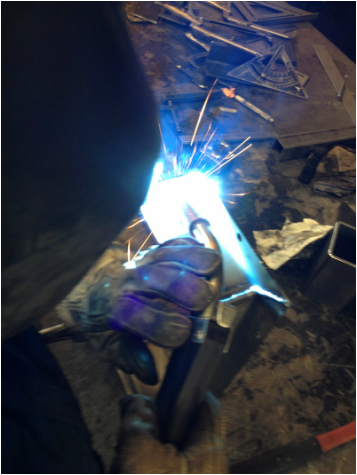 Majestic Metal craftsman welds up all of the parts forming the custom bases for the Moshier installation. 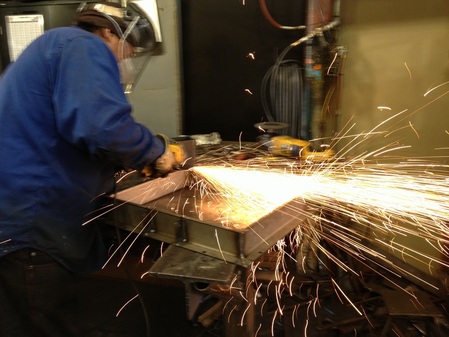 A custom mounting base like this one is used when there is no flue tile to attach a regular All Season Control Cover. 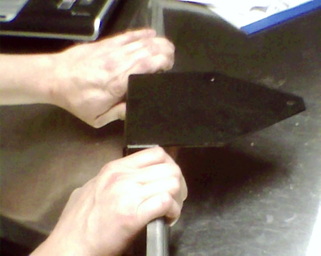 After welding/grinding we are back to Stainless Steel Accessories Mfg., Inc in Salt Lake City to check fitting before powder coating the custom mounting bases. 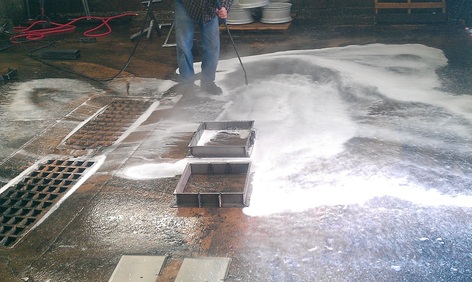 Andy, Willy, and Mike at Metal Craft Trailers took this powder coating rush job in stride, while custom building trailers for boat owners. 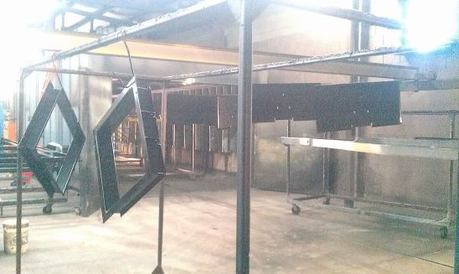 Hanging around at Metal Craft (Salt Lake City), the powder coated bases and covers are baked at 400 degrees which creates a very durable finish.  It is now just after 5 pm. and we are back to Stainless Steel Accessories Mfg., Inc where Scott and Jeremy stay after hours to check final fit and finish, assembly and packaging, ready for transport at 7 pm by car overnight to Whitefish, Montana. 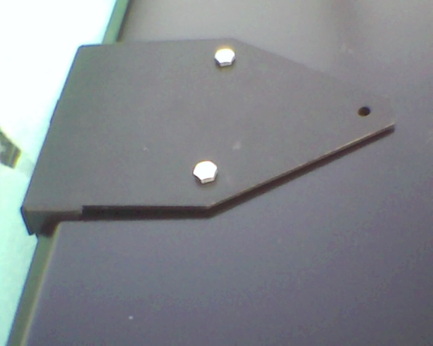 We left the Control Covers unsprung so that they were easier to package and to work with at the top of the chimney. The springs will be set at the chimney top as the final step of assembly.  Arrived at the Andrew Moshier home right on time for the scheduled for installation. 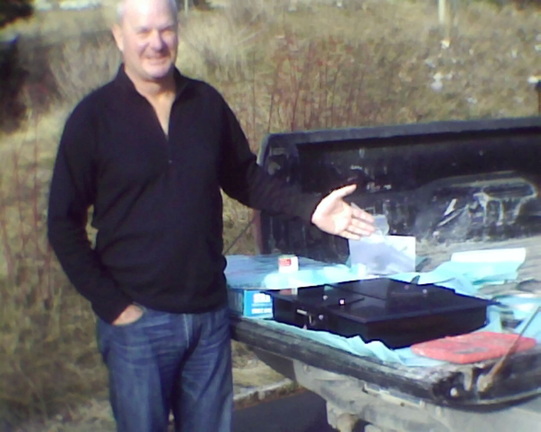 Mr. Moshier, gets his first look at the All Season Control Cover, saying "This is a work of art! I hope it works as good as it looks."  Heritage Hearths Masonry, Kalispell, Montana installed this cover. Jeremy Hartle and crew begin the installation, first using the masonry saw you can see in the photograph to remove the existing flue tiles because of the very limited clearance. The successful installation leaves the Moshier family with an easy to use chimney cover that can be opened and closed as needed.
Burning wood produces environmental impacts. That is why it must be done responsibly. Responsible wood heating should be defended from criticism that it is bad for the environment. In fact it should be promoted on environmental grounds. When we talk about the impact of wood burning on the environment we should consider three distinct forms of impact:
Burn sustainably harvested, properly processed and seasoned fuel in an advanced combustion stove or fireplace that is vented through a chimney that runs straight up through the building. 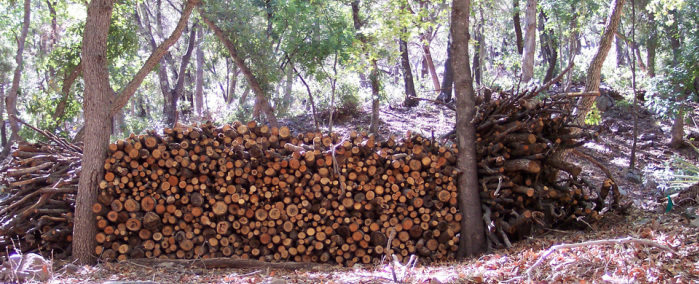 It sounds so simple, but as you can imagine, there are some complex issues and layers of meaning under the surface of the words. Here is a brief explanation.
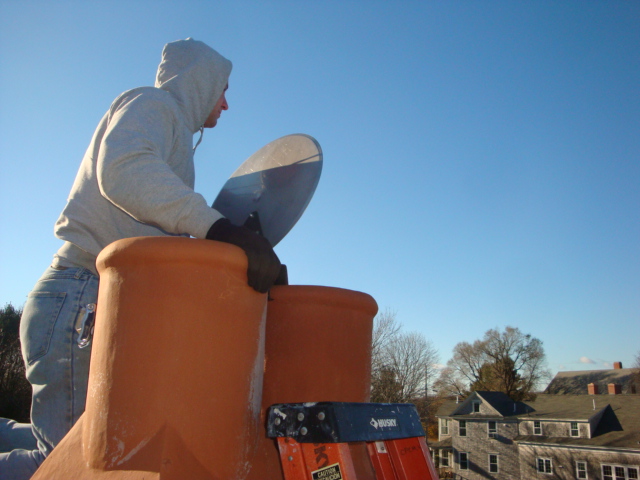
Properly processed wood is cut to the correct length and split to the correct range of sizes for the appliance. Having wood the right length and range of size makes it easy to build good, clean burning fires. Properly seasoned fuel is split and stacked in an area open to sun and wind for between six and twelve months, depending on how hard the wood is, how large the pieces are and how dry the climate is. You cannot burn without smoke if you are using wet wood. Sustainable harvesting involves selective, uneven age cutting so that an acceptable level of biomass and biodiversity is maintained permanently on the site. Advanced combustion stoves and fireplaces burn wood about 90 per cent cleaner and one-third more efficiently than older conventional appliances. That means a lot less smoke outside and lower forest impacts because less wood is used. And there is a bonus: The same advanced appliance characteristics that result in lower outdoor emissions also result in less chance that smoke will be spilled inside the house. The chimney should run inside the house because if it runs up an outside wall there is a good chance that smoke, odors and cold air will flow backwards into the house, polluting the indoor air. Although there has been a tradition in rural areas of burning garbage in backyard barrels and in wood burning heaters, it is now apparent that when you burn garbage, you're making poison. We should all be working towards environmentally appropriate wood heating. Marlene, a wood burner and one of our visitors, sent us a copy of an article she wrote for her local community newspaper. "Hey Neighbour" is a wonderful contribution to the dialogue on responsible wood heating. Congratulations to Marlene for making a difference in her community. Maybe you could also promote responsible wood heating in your community. You will find several articles here that go into plenty of detail on the environmental impacts of wood heating. 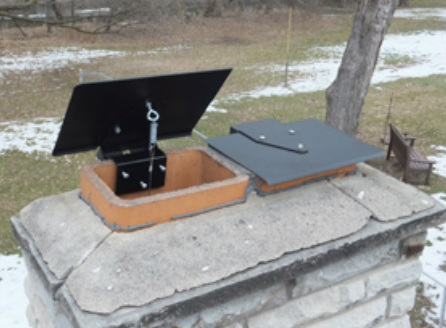 William Bozied, Mother's Residence Sterling Heights, Michigan The original in-throat damper (1966) was rusted open and would have cost $1,200 to replace. The open chimney top allowed a mother raccoon with babies to nest there, and a cold draft in the family room. Installation took a half hour for both All Season Control Covers. Problems solved. Project description: Two nine by thirteen flue tiles for one fireplace, two inches of flue tile exposed above the masonry cap. The mounting brackets were modified to accommodate the short flue tile (should be at least three inches), and the center drip edges of the Control Covers were cut off in order to lay flat on the flue tiles. Of course dual controls down to the firebox, one for each Control Cover.  Robert Worthley of Kennebunkport, Maine was very pleased with his installation of a custom All Season Control Cover. Here is what he had to say about the project: Here are photos of the installation and completed project for the chimney top damper which you recently supplied to us. I took the last two photos from the street, which show that the unit is almost invisible from the curb. I'm sure that your product will provide the solution to what has been an annoying problem for that chimney flue. The complete installation took about one hour. I am told that it was an easy process and the quality of your work was superb. I'd be happy to refer any future work of this nature to your company for what is clearly an excellent product. Nice to see that "made in the USA " still means the best! Cape Property & Construction Management was the general contractor for the construction of this house in Kennebunkport Maine. The masonry company which built the chimney and installed your chimney top sealing fireplace damper was Ledgestone Masonry of Kennebunk, Maine. Thanks again for a job well done. It was a pleasure doing business with you. Robert Worthley President-Cape Property & Construction Management, LLC. from woodheat.org
A good chimney and system design produces desirable performance characteristics:
This is good wood stove performance: (hint: it's really the chimney that's doing the performing!)
Think of the chimney as the engine that drives the wood heating system. Think of its fuel as heat. Think of the power it puts out as draft. The more fuel (heat) you give this engine (chimney), the more power (draft) it will deliver. So, the hotter the exhaust gases, the more draft is produced. Draft, by the way, is good. It's the suction that keeps the smoke from coming into the room. Insulation in the chimney is important because it helps to keep the exhaust hot until it is expelled outside, and so, increases draft. The chimney works with the stove or fireplace in a kind of feedback loop. Heat in chimney makes draft, which pulls in more combustion air, which makes the fire burn hotter, which delivers more heat to the chimney which makes more draft and so on. An insulated chimney makes more draft with less heat. In winter, a well-designed and properly installed chimney makes some draft and flows some air upwards, even when no fire is burning. When you build a fire in a stove connected to such a chimney, the kindling ignites easily, draft increases rapidly and you have a nice bright, hot fire right away—and no smoking. This is the kind of system you want in your house. |
See Our WorkAn All Season Control Cover in action speaks for itself. See how our product solves many types of chimney and fireplace issues. Archives
September 2015
Categories
All
|


 RSS Feed
Photos from Russell Lee Photography, W10002
